Tower Defense Strategy for Beginners: A Practical First Plan
The hardest part of tower defense for a new player is not any single mechanic — it is knowing what to do first. You have a pile of gold, a handful of towers and no idea which choice matters. This guide gives you a simple plan that works in almost every game on the site, and explains the reasoning so you can adapt it.
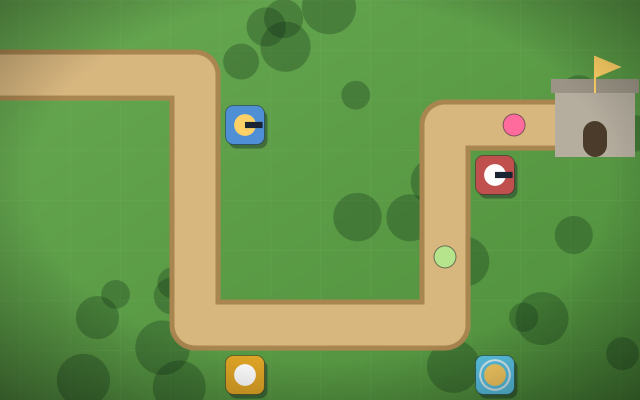
The examples use Kingdom Defender and Quick Defense because they are the two easiest games here, but the same principles carry over to everything else.
Step 1: Read the map before you build
You can take as long as you like before the first wave, because nothing starts until you press Start Wave. Use that time. Look for:
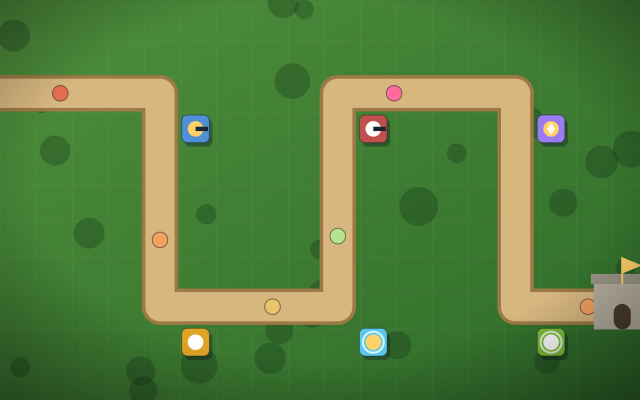
- Bends and loops. A tower placed on the inside of a bend can hit enemies on two stretches of road. In Kingdom Defender's winding path, these spots are worth far more than straight sections.
- Where paths meet. In Crystal Defense two paths converge on the central crystal; a tower near the meeting point covers both.
- The exit. Keep some coverage close to it as a last line of defense, but do not put everything there — you want enemies to spend as long as possible under fire.
Our tower placement tips go deeper into choosing spots.
Step 2: Spend your opening gold on reliable damage
The first waves are usually light, and every enemy you kill pays gold. The fastest way to grow is to kill efficiently from the start. Build one or two of your cheapest general-purpose damage towers — the Archer Post in Kingdom Defender, the Bolt in Quick Defense — at your best bend. Avoid opening with a slow tower or a support tower: they make other towers better, but on their own they kill nothing.
Step 3: Add a slow, then splash
Once basic damage is in place, the strongest beginner combination is a slow tower followed by a splash tower:
- Place the slow (Frost Tower in Kingdom Defender, Frost in Quick Defense) where enemies enter your main killing area.
- Place the splash tower (Bombard, or Splash in Quick Defense) so its blasts land a little further along the route.
Slowed enemies bunch together, and bunched enemies are exactly what splash damage wants: every enemy inside the blast radius takes the hit. Remember that slows do not stack, so a second slow tower covering the same spot adds almost nothing. Put the gold into damage instead.
Step 4: Upgrade or build? A simple rule
Every tower has three levels, and the upgrade cost is shown on its button. Beginners often either never upgrade or upgrade one tower obsessively. A balanced rule of thumb:
- If you still have good, uncovered spots near bends, build a new tower there.
- If your best spots are already taken, upgrade the towers sitting in them.
- If an enemy type keeps leaking, build the tower that counters it before upgrading anything else.
The full reasoning is in our guide to how tower upgrades work.
Step 5: Recognize enemy types and answer them
Each wave in Kingdom Defender is built from a small set of enemies, and each asks for a different answer:
| Enemy | Problem | Good answer |
|---|---|---|
| Footman | Basic, arrives in numbers | Archer Post; Bombard for groups |
| Scout | Fast, runs past slow towers | Frost Tower slow; towers set to First |
| Brute | Tanky, soaks damage | Concentrated damage at a bend |
| Ironclad | Armored, ignores small hits | Ballista (armor-piercing, big hits) |
The Ironclad is where many beginners get stuck. Armor is subtracted from every hit, and only a minimum of 25 % of each hit is guaranteed. Lots of small arrows lose most of their damage; a heavy Ballista bolt loses very little. If Ironclads leak, the fix is a Ballista, not three more Archer Posts.
Step 6: Use targeting and speed controls
Two controls help beginners more than they expect:
- Targeting. Open a tower's panel (or press T) to change its mode. First is a safe default because it attacks the enemy closest to escaping. Setting a Ballista to Strongest makes it spend its big hits on tanks instead of weak enemies.
- Speed and pause. Run easy early waves at 2× or 3×, but drop back to 1× or pause (Space) when a new enemy type appears so you can watch what happens.
Step 7: Prepare for the boss
Kingdom Defender ends with the Warlord on wave 15. Bosses have a large health bar with phases at 66 % and 33 %, remove many lives if they escape and resist half of every slow. Get ready a few waves in advance: upgrade your hardest-hitting towers, make sure the boss will pass through as much coverage as possible, and set a couple of heavy hitters to Strongest so they focus it. Our guide to how boss waves work covers this in more depth.
Step 8: Learn from every leak
When an enemy gets through, ask three questions: which enemy was it, where did your towers stop hitting it, and what would have stopped it? The answer is usually one of three things: not enough damage on a bend, no answer to armor, or fast enemies outrunning slow towers. Fix that one thing and try again.
Ready to practice? Play Quick Defense for a short 10-wave run with three towers, then take the full plan into Kingdom Defender. When you are comfortable, our list of common beginner mistakes will help you polish the details.