Tower Placement Tips: Where to Build for Maximum Effect
Two players can build exactly the same towers and get completely different results. The difference is placement. A tower's value is not its damage alone but its damage multiplied by how long enemies spend inside its range — and that depends entirely on where you put it.
This guide covers the placement principles that work across the games on Tower Defense Hub, followed by map-specific advice.
Think in "time under fire"
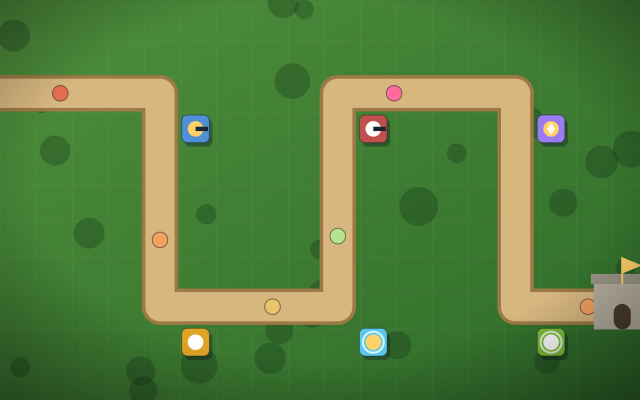
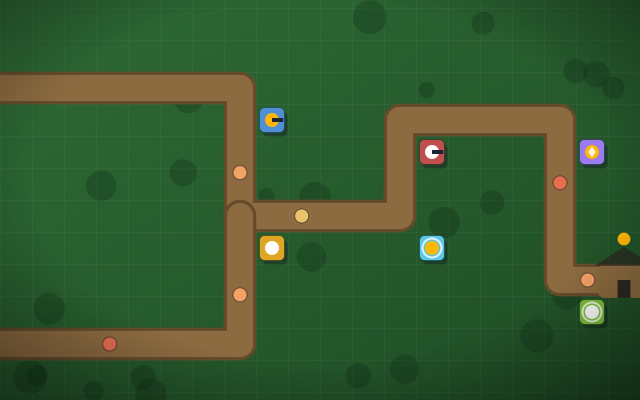
A tower only helps while enemies are in its range. So the question for every placement is: how long will enemies stay inside this circle? A tower beside a straight road covers one short stretch. The same tower on the inside of a U-bend can cover the road going in and the road coming out — potentially doubling the time each enemy spends under fire, for the same gold.
Before each build, look at the tower's range and count how many path tiles it would cover. The spot with the most coverage usually wins.
Priority spots on any map
- Inside of bends and loops. Kingdom Defender's single winding path is full of these; they are the first places to build.
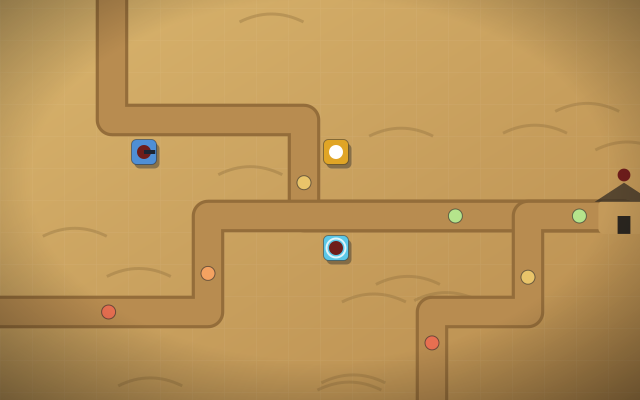
- Where paths merge. After a merge, every enemy uses the same road. Crystal Defense (two paths converging on the crystal), Jungle Defense (two routes merging) and Desert Defense (three converging paths) all reward heavy investment just after the meeting point.
- Just before the exit. A small backstop catches leakers, but should not be where most of your gold goes.
Order matters: slow first, splash second
The order of towers along the route changes how well they work together:
- Slow towers go at the start of your main killing zone. Enemies that are slowed early stay in range of everything behind them longer.
- Splash towers go where slowed enemies bunch up, a little after the slow. Every enemy inside the blast radius takes the hit, so tighter groups mean more value per shot.
- Damage over time (burn, poison) goes early, so the effect has the whole route to finish its work.
- Snipers can sit further back from the road thanks to their range, freeing close spots for short-range towers.
Remember that slows do not stack — only the strongest slow applies. Two slow towers covering the same stretch waste a spot. If you want more control, place a second slow on a different part of the route.
Range decides where each tower belongs
Short-range towers need the best spots right beside the road, ideally at a bend. Long-range towers are more forgiving. Some examples from our games:
| Tower | Game | Placement advice |
|---|---|---|
| Shotgun | Zombie Defense | Short-range spread: right against the road, ideally at a bend |
| Snare Trap | Jungle Defense | Short range, brief stun: at a narrow point where enemies must pass |
| Pulse | Robot Defense | Damages everything around itself: surrounded by path on several sides |
| Ballista / Railgun / Longshot | Kingdom / Space / Maze | Long range: further back, where it can reach several stretches |
Support towers: build a cluster
Support towers boost the towers within their radius, and boosts from multiple supports do not stack. So the right shape is one support tower in the middle of a tight cluster of your strongest attackers. Two supports with overlapping radii waste gold on the towers they both cover.
In Desert Defense this matters even more. At night, towers lose 15 % range unless a Radar covers them, and during sandstorm waves non-radar towers lose 30 % range. A tower placed at the very edge of its reach may suddenly stop hitting the road. Keep your key towers inside Radar coverage, or place them close enough to the path that a range loss does not matter.
Map-specific placement tricks
Jungle Defense
Mud tiles slow enemies by 35 %, and trees and rocks block building. Mud is a free slow, so towers covering mud get extra time on target. Plan around the blocked tiles before the first wave, since the best-looking spot may simply be unbuildable.
Zombie Defense
The path forks. Defend the stretch before the fork heavily, because after it your coverage has to be split. Base health is only 20, so leaks hurt.
Medieval Castle Defense
With 3 lanes you cannot stack everything in one place. Give each lane enough to handle its share, and pay attention to Siege Rams: they are tanks that deal heavy base damage, so the lane they use needs extra punch.
Hero Defense
Your hero, the Warden, can move anywhere you tap. Place towers so they cover the main path, and use the hero to plug gaps; War Cry gives towers +50 % damage for 8 seconds, so it is best used when enemies are deep inside your tower cluster.
Placement on open maps
On maze maps such as Maze Defense, placement also shapes the route itself. Enemies take the shortest open route, recalculated after each placement, and you cannot block every route completely. Good maze placement lengthens the path while keeping your attack towers next to as many tiles of it as possible. See fixed path vs maze tower defense for the full picture.
Precise placement with keyboard or touch
You never need hover to place towers. On touch screens, tap a tower button and then a highlighted tile. On keyboard, press 1–6 to pick a tower, move the cursor with the arrow keys and press Enter to build. Pause first if you want to place carefully during a wave.
To practice, play Kingdom Defender and try building your first two Archer Posts on straight road, then restart with them on the inside of bends — the difference is easy to see. For more advanced ideas, continue with how to improve your tower placement.