How to Protect Your Base: Stop Leaks Before They Cost You
Every tower defense game is, in the end, about one number: your lives or base health. You can build a beautiful defence and still lose if a few of the wrong enemies reach the exit. Protecting your base means understanding how that number goes down and designing your defence so that the enemies most likely to leak are the ones you are best prepared for.
This guide covers how lives work across our games, which enemies are most dangerous to your base, and how to build defences that fail gracefully instead of all at once.
How lives are lost
In all of our games, each enemy that reaches the exit removes lives equal to its strength. Small, fast enemies usually cost little; tanks cost more; bosses remove many lives at once. When lives reach zero, the game is lost.
That has an important consequence: not all leaks are equal. Letting three weak runners through may be survivable, while a single tank or boss can end a run. Your defence should be weighted toward stopping the expensive enemies with certainty, even if that occasionally lets a cheap one slip by.
Base health in themed games
- Zombie Defense uses base health 20.
- Medieval Castle Defense uses castle health 30, and its Siege Ram deals heavy base damage.
- Space Defense has a station shield that absorbs leaks and recharges between waves, plus a Shield Overcharge ability.
- Hero Defense lets the Warden's Rally ability heal the hero and restore 2 lives.
Build in layers
A single wall of towers either holds or breaks. Layers give you several chances to kill each enemy.
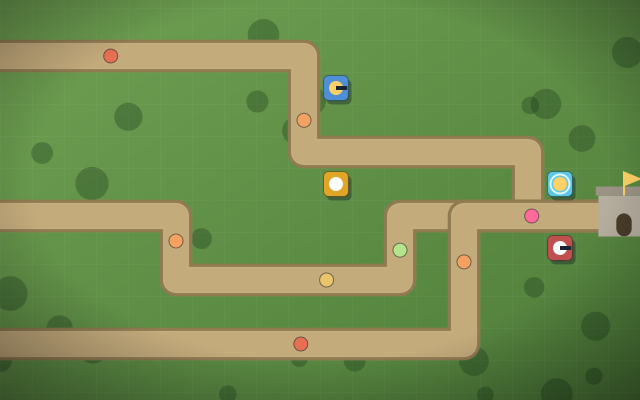
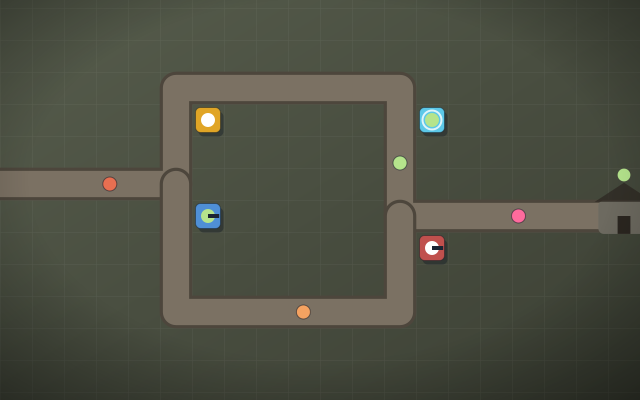
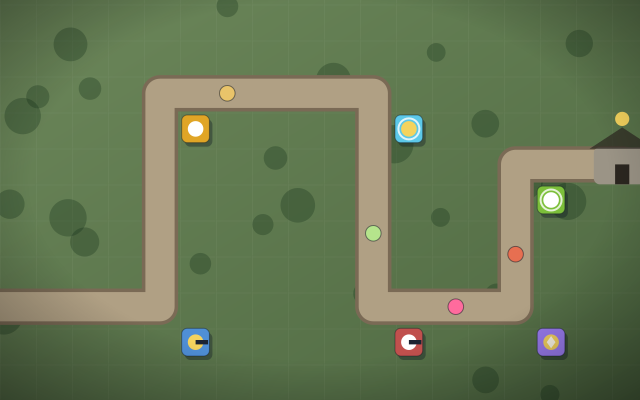
- Front layer: a slow tower and splash damage where enemies first bunch up. This thins out swarms and softens everything else.
- Main kill zone: your strongest, most upgraded towers at the best bend or merge point.
- Last line: a small group near the exit whose only job is to finish survivors.
The last line is the part beginners skip. It does not need to be large. Even one well-placed, upgraded tower near the exit turns many would-be leaks into kills. See how to build an effective defense for the full structure.
Set targeting for defence, not just damage
Targeting modes are a base-protection tool. Each attacking tower can target First, Last, Strongest, Weakest, Closest or Fastest.
- First (furthest along the route) is the right default for most towers, because the enemy closest to your base is the most urgent.
- Strongest suits snipers and anti-armor towers, which should spend their big shots on the tanks that cost the most lives.
- Fastest suits a last-line tower when runners are the main source of leaks.
Our guide to tower targeting strategies goes into more detail.
Know which enemies threaten your base
Fast enemies
Scouts, Runners, Dire Wolves and similar enemies spend little time in each range. Slow them at the start of your kill zone and keep a Fastest-targeting tower near the exit. Remember that only the strongest slow applies, so one good slow is enough. Read how to handle fast enemies.
Tanks and armored enemies
Tanks like the Brute or Siege Ram, and armored enemies like the Knight or Riot Zombie, usually cost more lives if they leak. Armor reduces each hit by a flat amount, down to a minimum of 25 % of the hit, so answer them with heavy hits, armor-piercing towers or damage over time, which ignores armor.
Splitters
In Zombie Defense, the Bloater splits into Crawlers when it dies. If you kill it right at the end of your defence, the Crawlers appear close to the base with little left to stop them. Kill Bloaters early, in your front layer, so the Crawlers still have to walk through the rest of your towers.
Healers and shields
Healers restore health to nearby enemies, so a group that was almost dead can arrive at the exit healthy. Focus them early. Shielded enemies need extra damage before their health even starts to drop; lightning and Tesla style towers deal double damage to shields.
Bosses
Bosses remove many lives if they leak. They resist half of every slow and telegraph dangerous abilities. Play boss waves at 1× speed and put your heaviest single-target damage where the boss spends the most time.
Protecting multiple lanes
On maps with several routes, your base is only as safe as your weakest lane. In Medieval Castle Defense, three separate lanes each need a real defence. Watch which lane leaks, and rebalance with your next purchases rather than stacking more power on a lane that is already holding.
Recovering after a leak
A leak is information. Before your next build phase:
- Note which enemy leaked and which lane it came from.
- Check whether it passed through your ranges (a damage or type problem) or around them (a coverage problem).
- Fix that specific weakness, rather than spending evenly everywhere.
- Avoid panic selling: selling refunds only 70 %, so moving towers costs you.
A base-protection checklist
- Is there a last line of at least one upgraded tower near the exit?
- Are tanks and bosses facing heavy or armor-piercing damage?
- Are splitters and healers being killed early?
- Does every lane have enough defence for its next wave?
For more practice with base health mechanics, try the military tower defense games.